As I mentioned in my previous post about Katy I have started getting the things together to turn her into a ‘no build’ micro camper so I thought it would be useful to post about some of those and my thoughts on how it is going to work. I have used pictures from Amazon, Ebay or the purchase sites to illustrate as everything is at my sister’s at present but am not sponsored for any of my purchases. I have put links in case anyone would find this information useful.
Due to the lack of time to sort things before my return to Spain I only had a day with her after she was delivered before leaving Worcester. I spent a lot of time measuring and sitting in her with various combinations of boxes to try and work out what space I had. This is a good tip that I picked up from watching You Tube videos and it helped me work out what head room I had and what would be suitable.
Katy has some very useful little airline type overhead lockers, which you can see in the picture above. I had seen these on other vans and was really pleased to be able to buy a van with them as not all models have them. I plan to use one side for food storage and the other for toiletries as there is quite a bit of space in them.
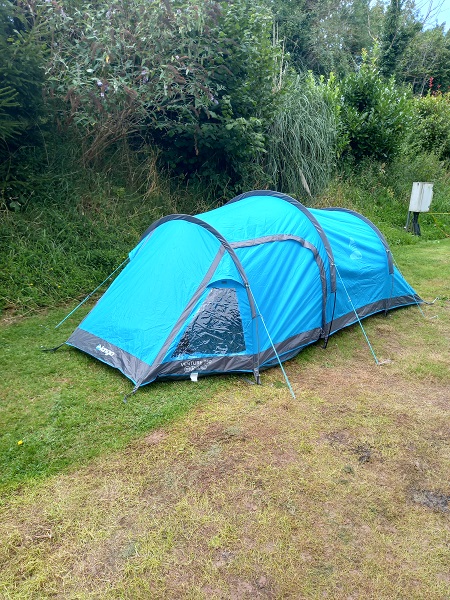
Last year’s UK camping tour was also very useful in getting me to think about minimal kit. I had everything I needed for 5 weeks travel, including the tent, all cooking stuff and all clothes, in one large bag and a rucksack so knew that I was set up for living. I now just have more space to put things away in!
My plan is to book camp sites this summer as a tent and to pitch the little tent I used last year as well as have the micro camper set up. That will give me additional storage and I will still probably sleep in the tent some nights as well. I will always love camping so will have the best of both worlds.
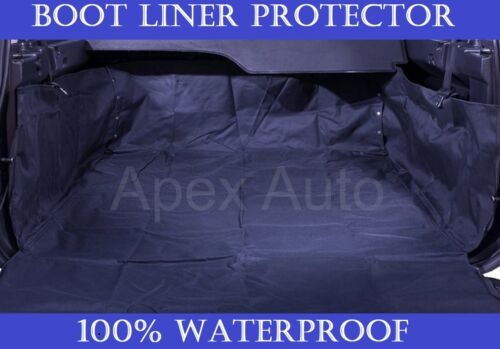
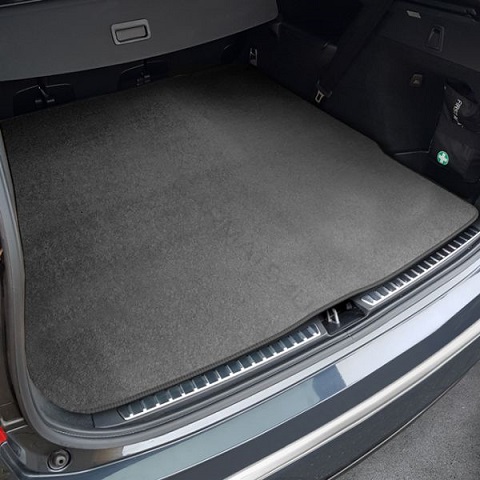
At the moment there is no flooring in the van. The area is luckily very clean so my temporary solution is a boot liner and a boot carpet. These will cover the majority of the area and I will just need to add to that to cover the footwells.
The seats will be removed and I am going to buy plastic storage boxes to fit into the footwells to make it level with the rest of the boot. I may create some kind of removable floor next year but for now this should work.
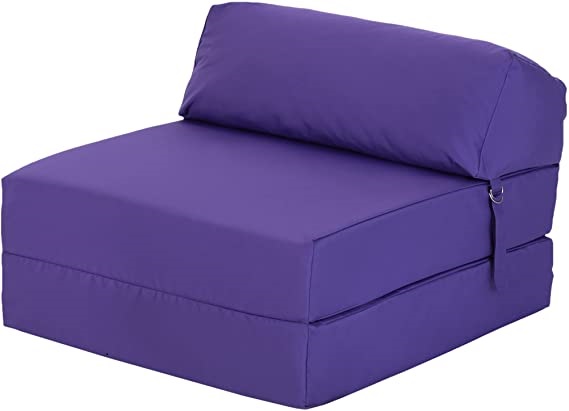
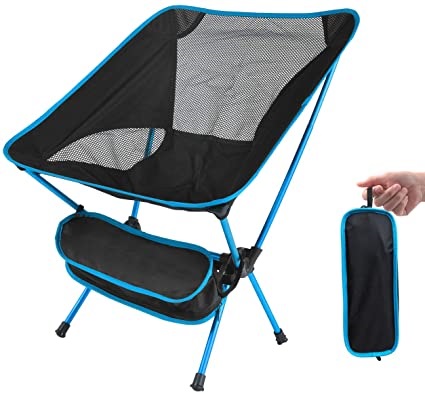
Later on I may buy a folding chair to sleep on like the one below, we had one of these for guests in my old house and they were great.
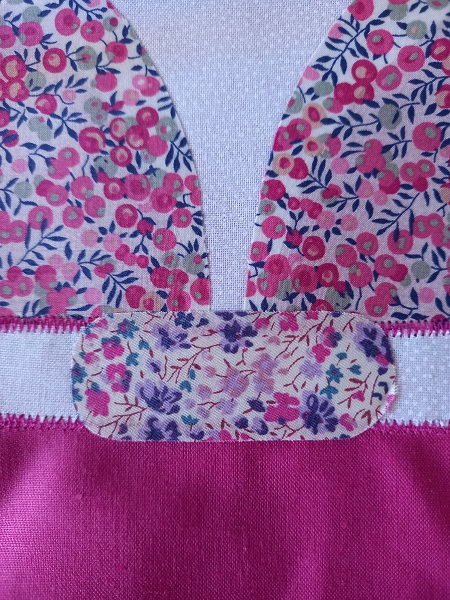
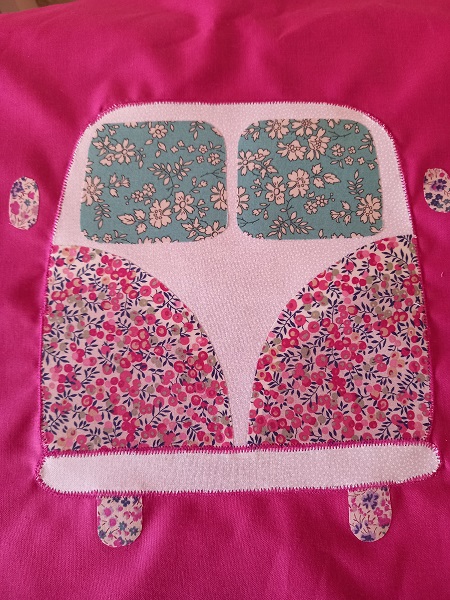
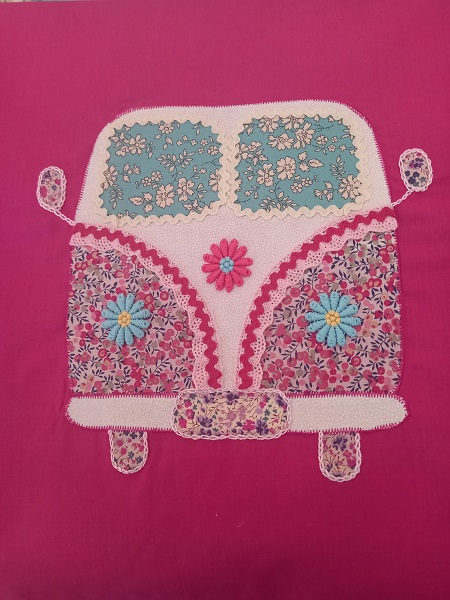
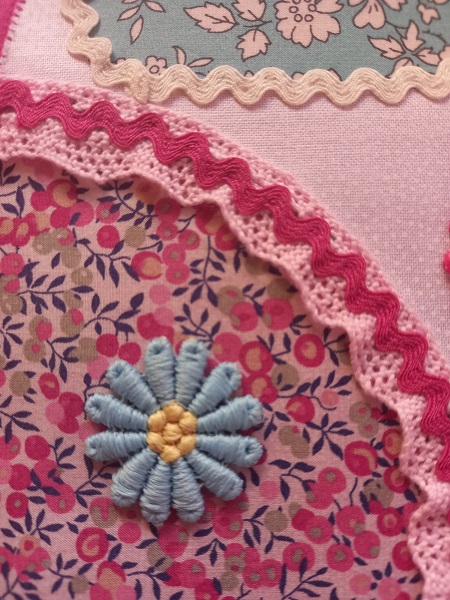
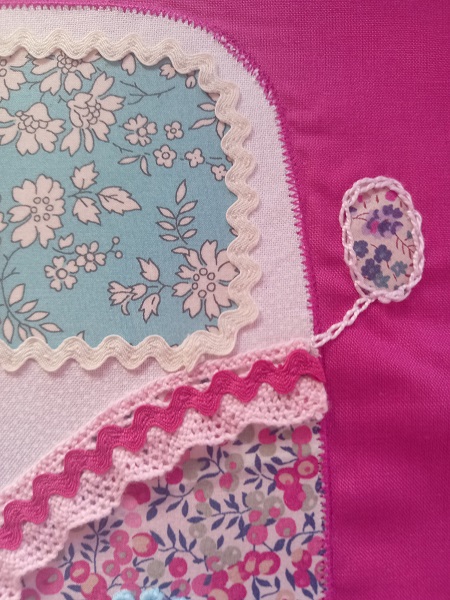
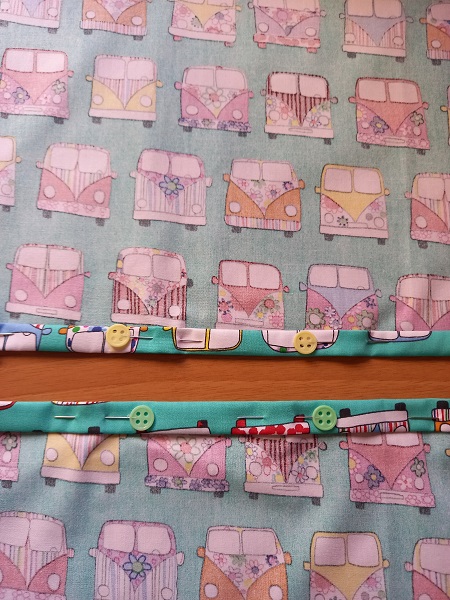
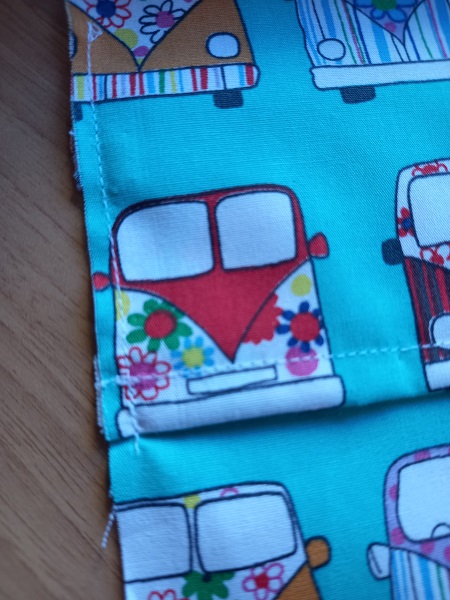
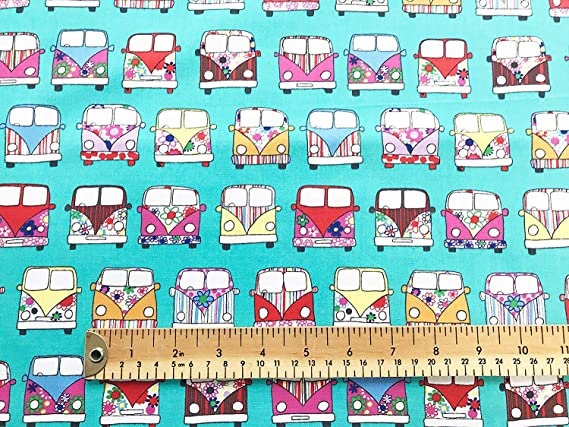
For the moment I am planning to use my air bed and existing sleeping bags (I have a normal and a lightweight one), plus some additional fleece blankets and cushions. I have this very cute fabric, that I have previously used for the backing for a campervan cushion for my sister pictured below, to make another version for me!
In fact I may make many campervan cushions as I still have my inspiration photos from Pinterest like the ones below. One of the reasons that I love having this blog is that I put together posts of my inspirations, like this one all about my campervan obsessions.
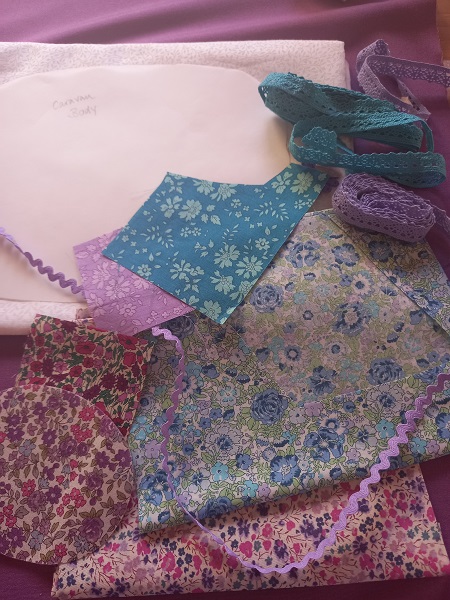
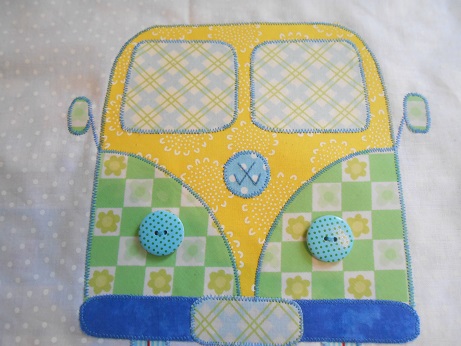
I also have my cute little appliques, made during lockdown two years ago, when I could only dream of learning to drive and buying a van. They will come with me on my travels, as a reminder never to give up hope!
Lot of people do make their own window covers out of reflective material, and I did consider that. However the windows are all odd shapes, and have lots of bits that protrude so I have treated myself to some custom made ones from Simple Camper Vans. They have blackout material on the inside and the silver material on the outside. They come in a great storage bag as well and though they cost more than making my own I think that is money well spent. I am planning to make some curtains as well.
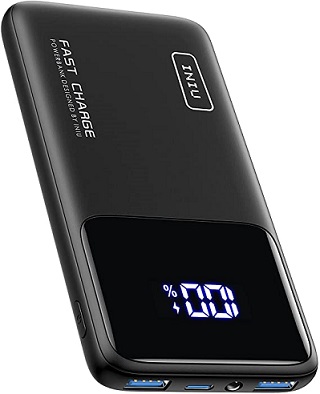
It has been very helpful being able to stay with Jacky in her campervan as well, that has given me lots of ideas of kit that is essential, and what I can do without. I have decided that fixed power is not needed. Katy has two 12 volt sockets, one at the front and one in the boot, that I can use to charge my phone and tablet. I have two power banks that I bought for last year’s trip which are re-charged through a main socket and since I will be away for only 2 weeks maximum at a time before visiting people, and at campsites with facilities, that should be fine.
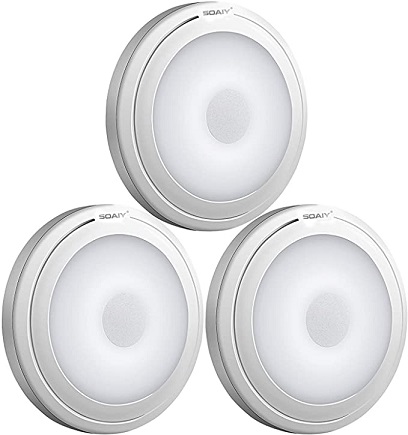
I bought a re-chargeable lantern at the motorhome show, and have also got some cute little battery operated magnetic lights so should be fine for power and light.
I have bought a very handy electric hook up with plugs, that I saw on someone else’s van conversion video, so may choose to book pitches with electric hook up if I need them.
I also have a little fan heater, that is more for when I will be using Katy next year in the spring, as I found I was fine last summer in a tent with just lots of fleeces. On our recent trip to the Peak District I bought some new thermals which are great as an underneath layer.
One of the things that Jacky has that is very useful is some collapsible storage boxes that can also be used as seating. I have bought one single version at present which is just the right height to sit in the van on when cooking.
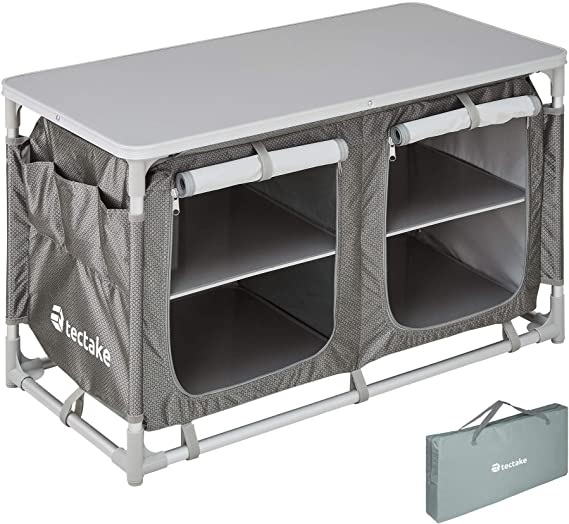
I have chosen to keep my existing cooking set up, I have a single ring gas camping stove, and Jacky has very kindly given me an additional one. I can then have two rings if I need them. For my cooking set up I have my mini table from last year which is about 14 inches high and also I have bought a camping kitchen unit.
This will travel flat pack with me and then I can set it up either inside or outside. It gives me lots of storage for cooking equipment as well as a great surface for food prep. Since I managed very well with just the small table and my lap last year I am sure it will feel very luxurious this summer. I will still use my very cute and comfortable mini folding chair from last year for sitting outside and plan to use the front seats as ‘sofa’ and additional storage.
I have also bought a little table that hangs from the steering wheel, which I thought would be great for my tablet for watching even more van life videos 😉 It even has a cup holder for my wine!
I will also have running water, of a sort! Last year I managed really well with a small folding water carrier, which I am still using but have also bought this nifty little 5 litre water container that can sit on my unit and which has a tap.
I have two very useful collapsible bowls as well. Most of the time I used campsites with washing up facilities anyway last year so just need the bowls to carry things.
Other purchases that have been recommended are magnetic hooks, useful for a variety of things and some back of the seat storage hangers which will fit over driver and passenger seat and be for additional practical items such as bin bags, though I may add a fluffy bunny as well 😉
The one thing that always fascinates people about van life is toilet and shower arrangements. I will be using facilities at campsites most of the time but Jacky has very kindly offered me a spare porta potti which I may take if I have space. My alternative is I am trying out some bags that are filled with crystals from this company. Those will just be for emergencies if I am off in the wild somewhere or at night if it is raining too much!
My last purchase was a little present to myself. I love sitting round a campfire so have bought this wonderful little mini fire basket. It folds up so small, about 12 inches long so I am looking forward to being able to use that at some campsites.
I also bought some map books, much as I love Google maps I also like planning trips with a paper map, and it is always handy where you have no signal. My sister also has a journal to record her trips so I bought one of those as well.
Total ‘no build’ costs so far are about £475, in addition to the around £150 I spent on new smaller camping kit last year, which I am pleased with. The van came in well under budget and most of these purchases can be used when we are tent camping as well, or would have been bought for it as a car.
I am so looking forward to putting it all together properly in July and going off and having my first adventures as a driver. I still can’t believe that I have been blessed enough to be able to realise this final part of my dream for retirement. I am so lucky.
I have arrived safely back in Spain and have been spending time unpacking my additional craft purchases and catching up with family. We have lots of fun trips planned, starting this week as there are the amazing Easter celebrations here. I hope that you have all had a good week. I will be back soon with more adventures so until then have fun, take care, stay safe and thanks for visiting.