For many, many years I have been trying to learn to crochet. I have been taught by some of the best people I know, including my lovely daughter, Ellen, who is a superb crocheter, and watched You Tube videos, read books, and done everything I can to get it to sink in. I have had some limited success with double crochet, and after Ellen was here in January managed to make some flowers for bunting, but I didn’t really understand what I was doing, or what it should look like.
However, the crafting gods have been very kind, and worked their magic, or witchcraft, as one friend recently commented on Instagram, and it has finally sunk in. I can do all this wonderful stuff, chaining, treble crochet, making incredible things out of wool. It has all clicked in my little brain and I am so happy!!!
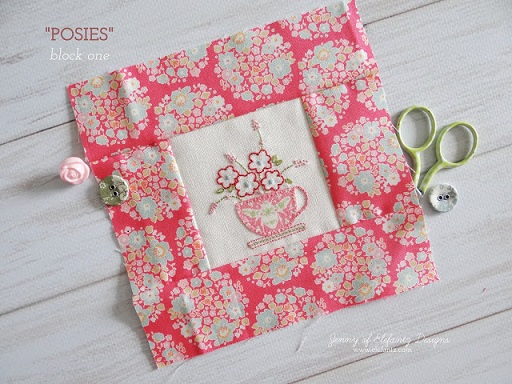
I started with finishing off some little rosebuds that I had made with Ellen. I have a pattern for these from a book I’ve owned for many years, and found following the written and instructions and the diagram relatively easy.


So I thought that I would give granny squares a go, as I have wanted to make them for years. I found a simple pattern and followed a video on You Tube, not sure which one now as I didn’t save it, and ta da, there they were!
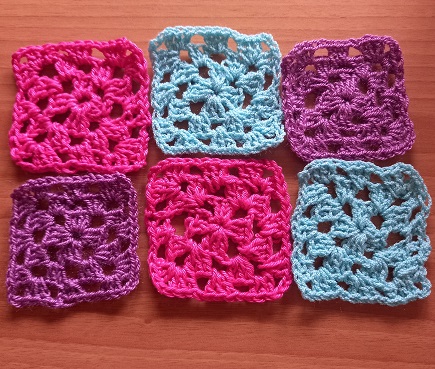
I’m not sure what I will use these for, so just did six. I may put them together as a little pouch when I get back in October. I have a black crochet style handbag that I love so thought that I’d try and find something I could use to make another more colourful version.
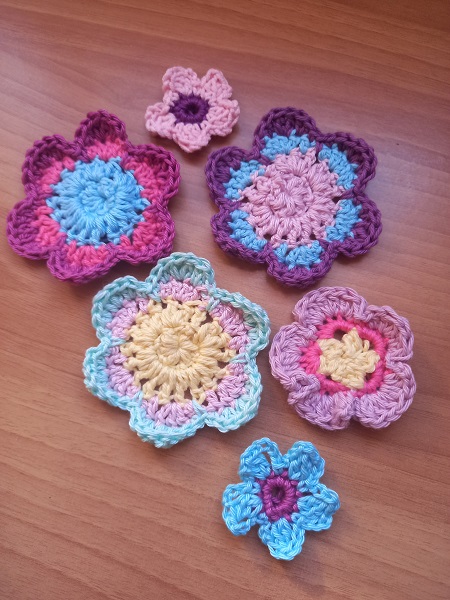
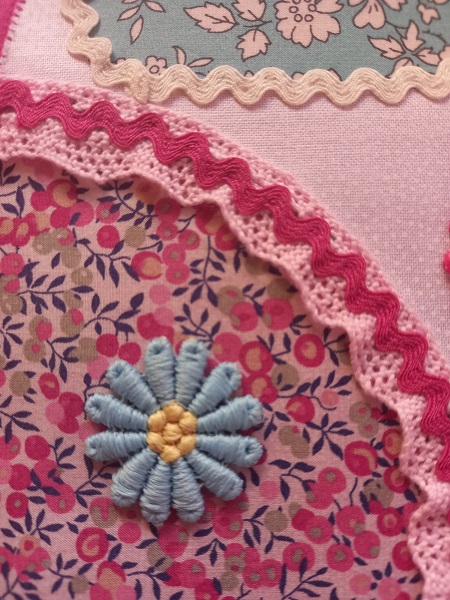
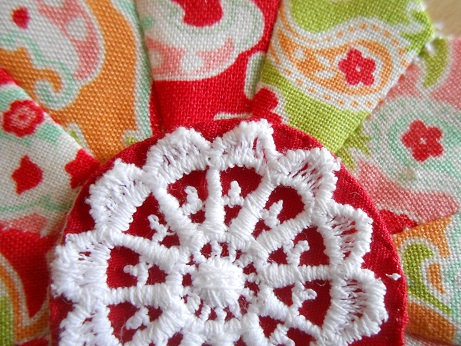
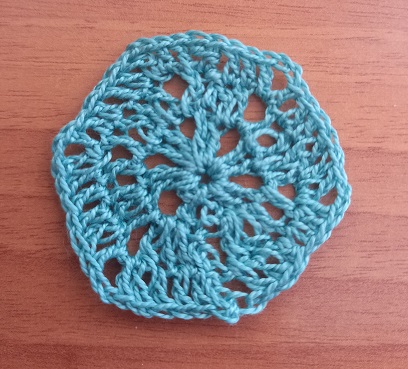
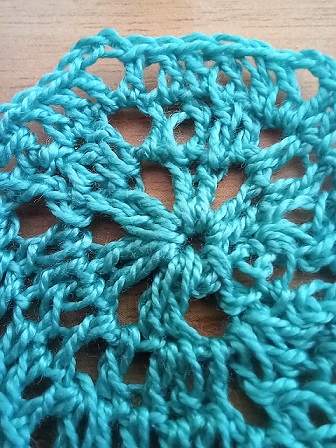
The first thing I tried was the Flower Hexagon from Emma C Makes. I have been following her for a while on Instagram and she has just released this tutorial. Although I loved doing it, in some variegated perle that I bought here in Spain and with a 2mm hook, it is still a little big for what I wanted. It finished to about 4 inches across so I will probably use it for a coaster in Katy.


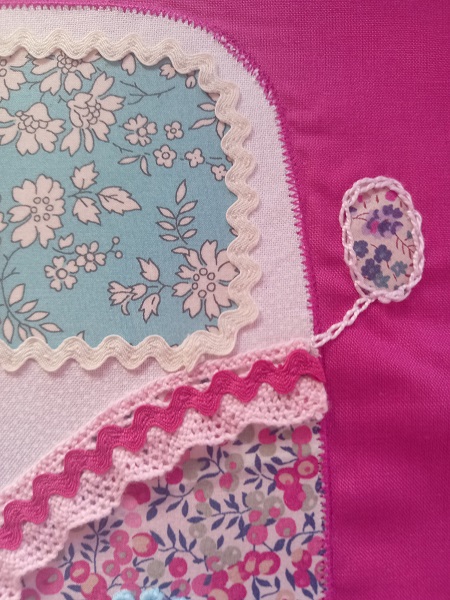
The next two pieces were also from Emma C Makes, a small hexagon, which was really quick to do, and very pretty, and a tiny granny square, both made out of perle with a 2mm hook.

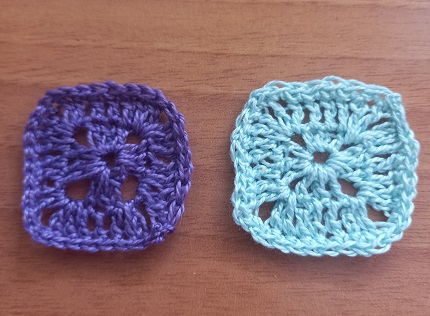

I have decided to go with the squares as they will be easier to make a bag with. I have lots of perle in different colours, and think I need about 40 for each side as they are 1 inch across. It is a perfect vanlife project as it takes up so little room!
There is a long tradition of crochet here in Spain, and they sell lots of wonderful perle to do it with. I will possibly do some bigger projects with wool as well, but you know how I love making small things!
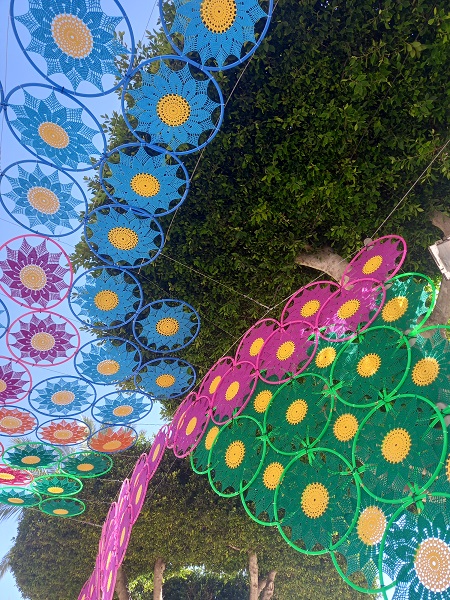
Recently there have been some great public crochet projects here, we always have lovely sunshades as the lace days we visit, and the towns have had collaborative Christmas trees as well. We went to our local town, San Fulgencio, the other week to see the beautiful crochet sunflowers they have installed by the town square. They look so gorgeous, especially next to the outlines of the palm trees.

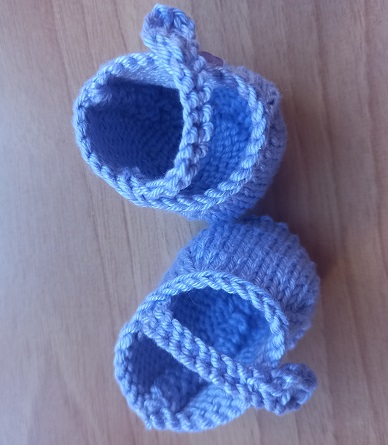
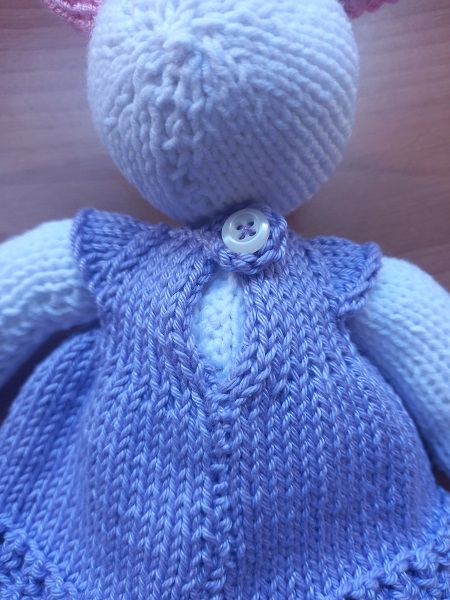
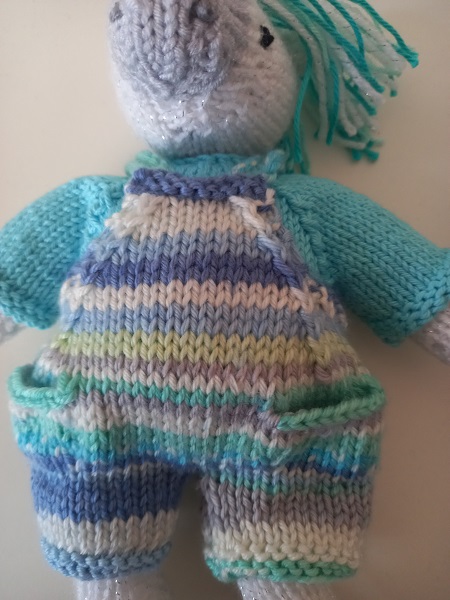
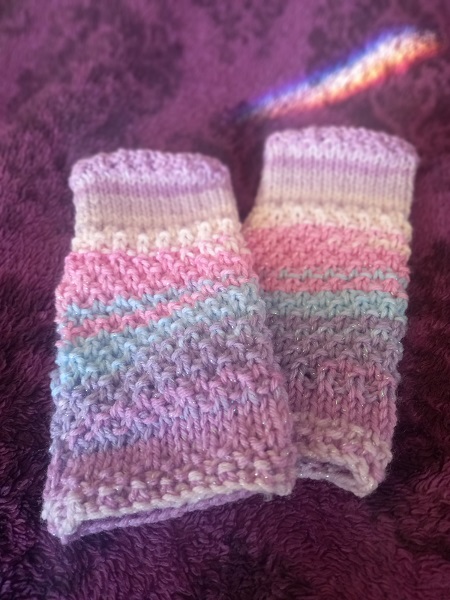
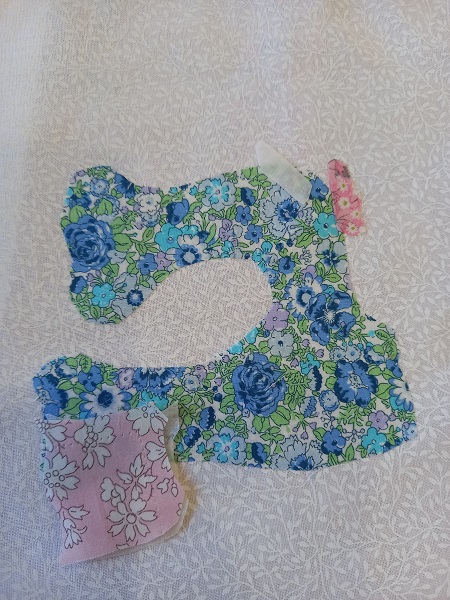
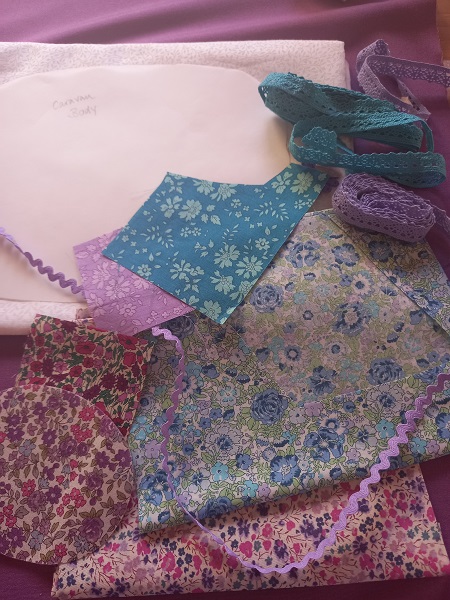
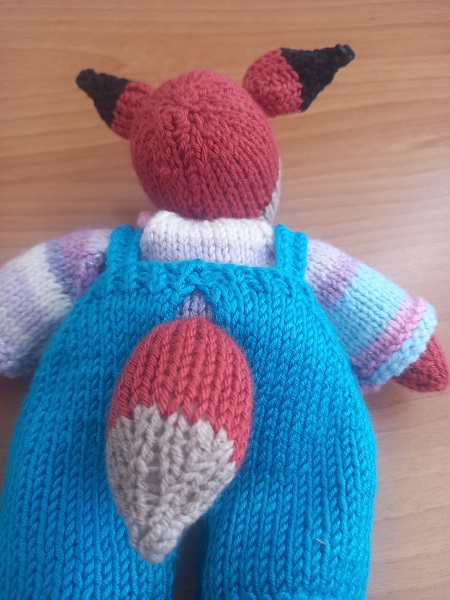
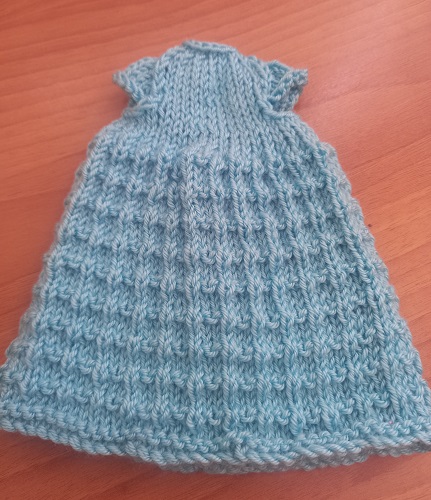
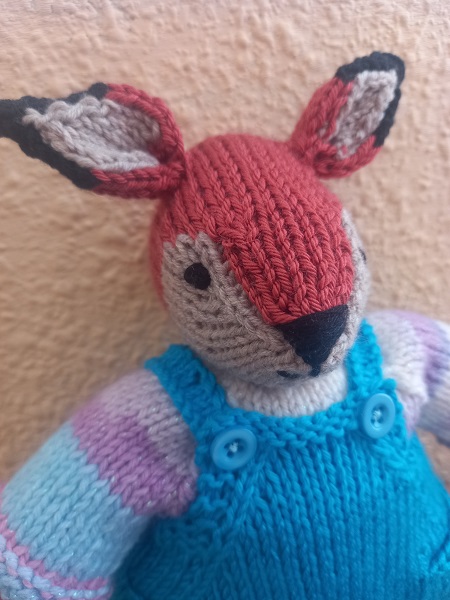
I have also finished two little animals from Julie again at Little Cotton Rabbits, using the textured dress and the dungarees patterns as well. The mouse is for a new family member expected this month, and the fox for my friend Sue’s first grandchild. Meet Fenella Fox and Miranda Mouse, my 31st and 32nd of Julie’s wonderful animal patterns.

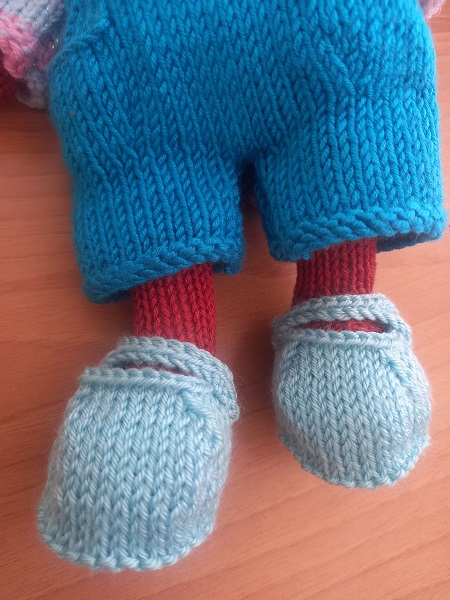
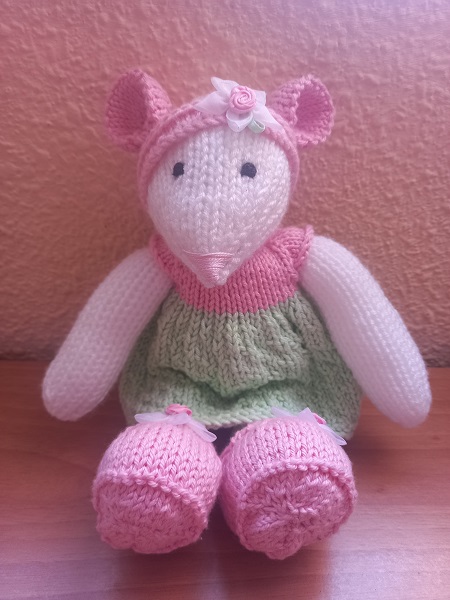
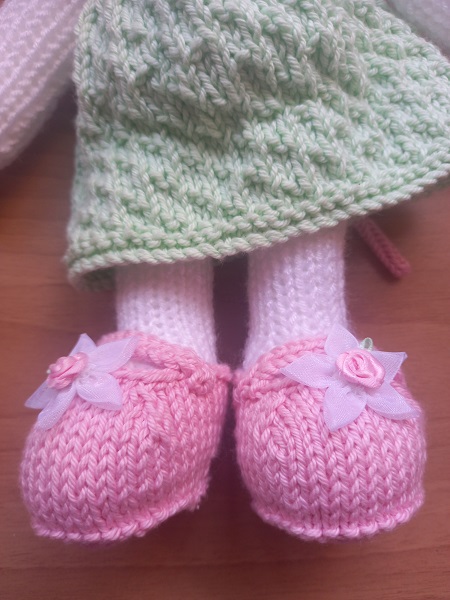
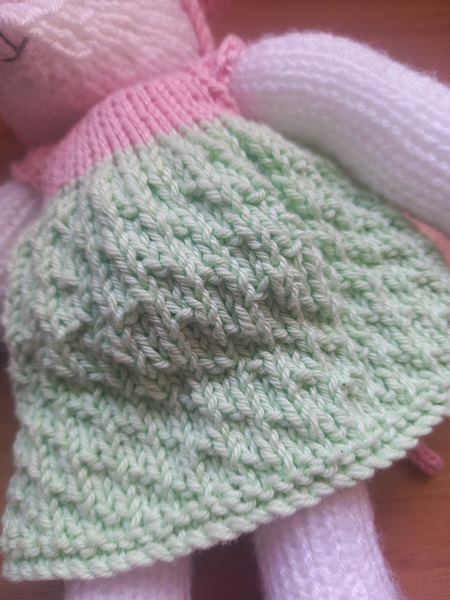


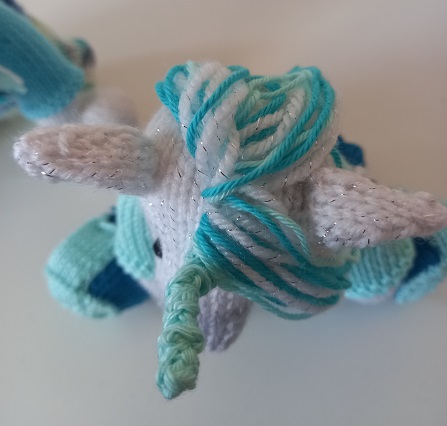
I love the little flowers on her headband and shoes, I think they are from the New York trimmings I bought last year.
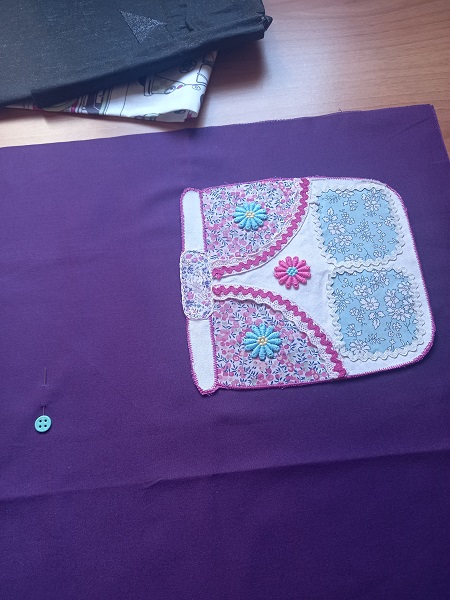
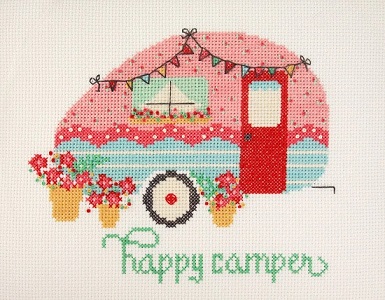
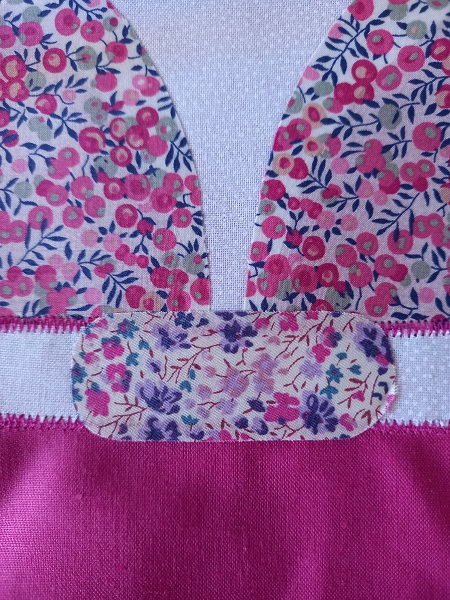
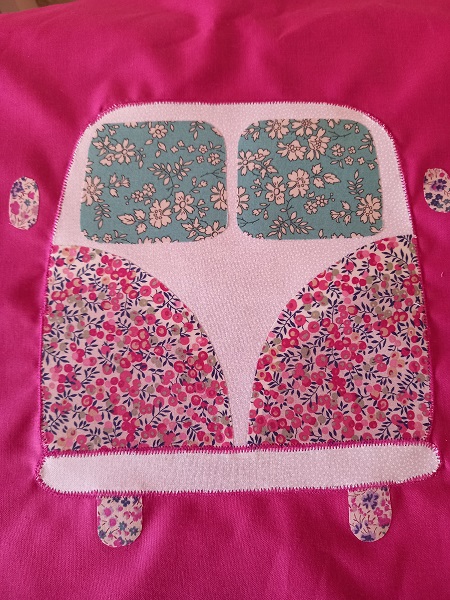
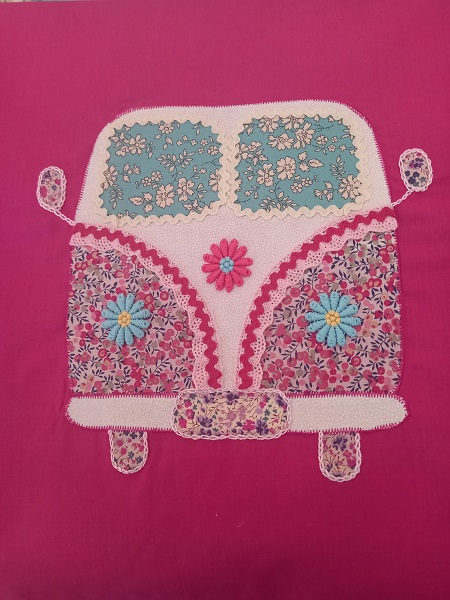
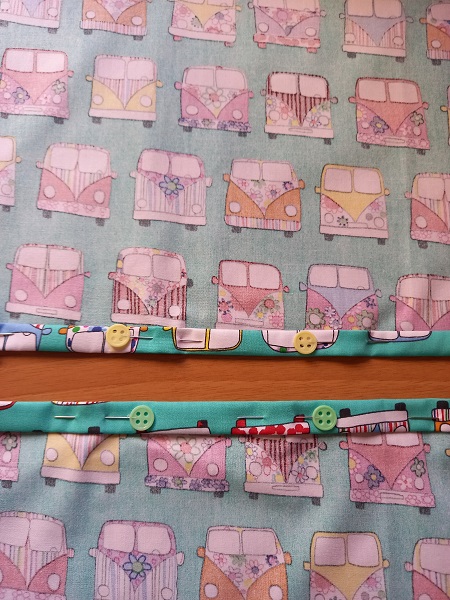
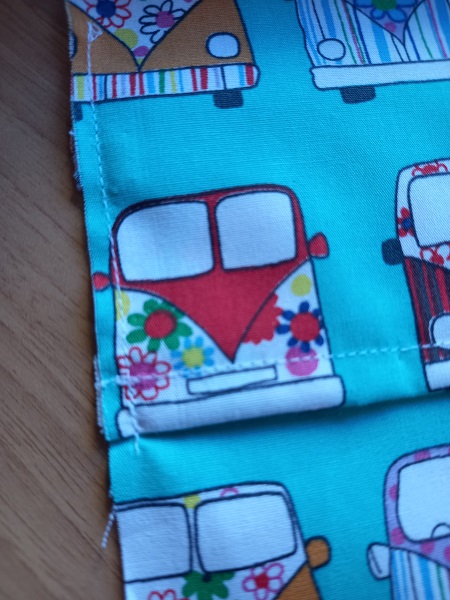
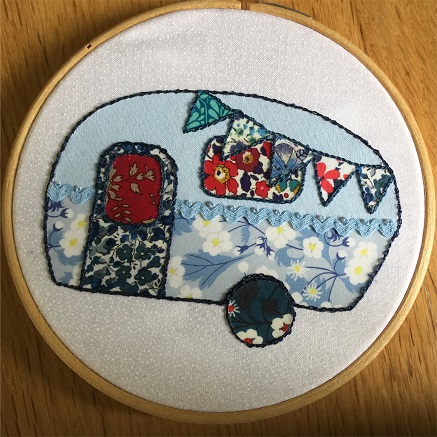
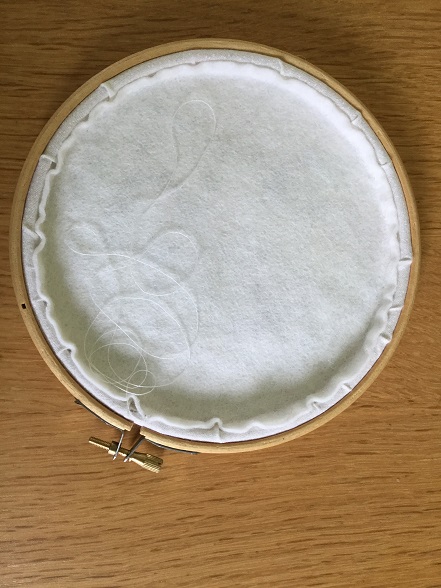
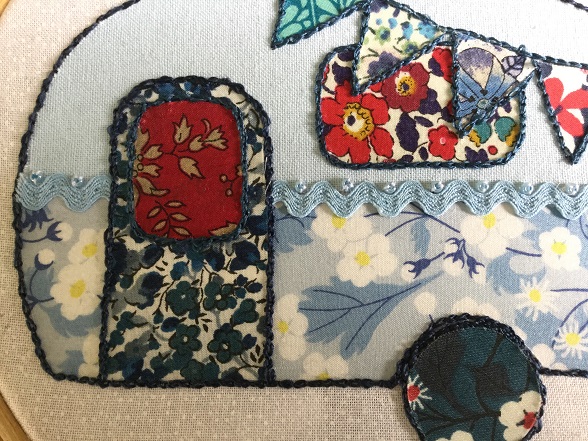
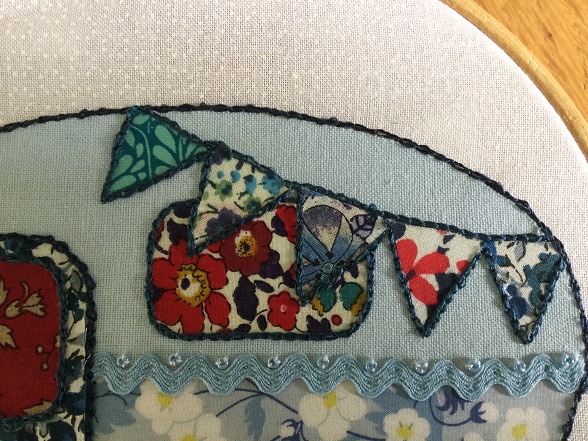
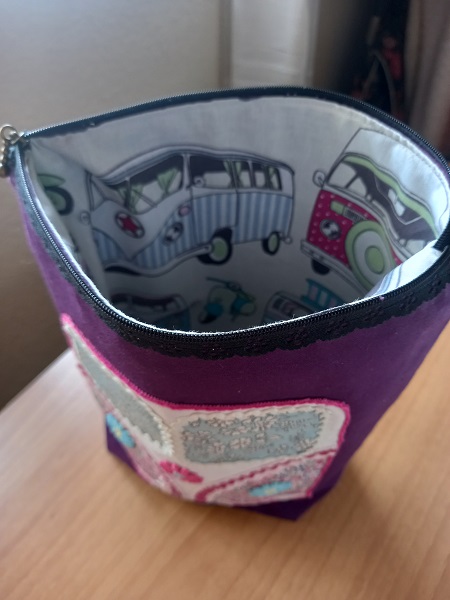
I have also finished a project bag for use in Katy, this was a re-make using a van applique that I made into a cushion but it got very faded and damaged so I repurposed it. I love the van fabric that I have had in my stash for years.


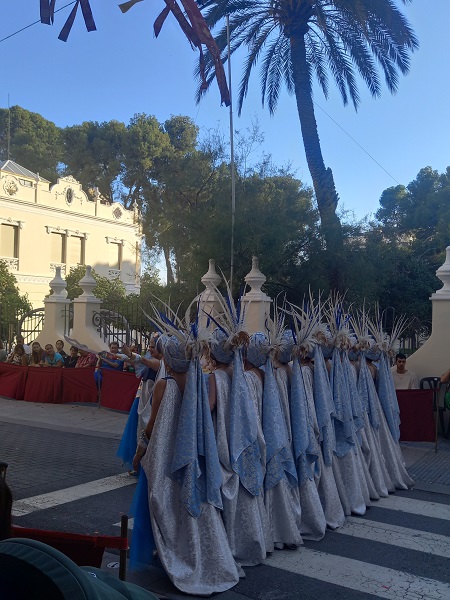
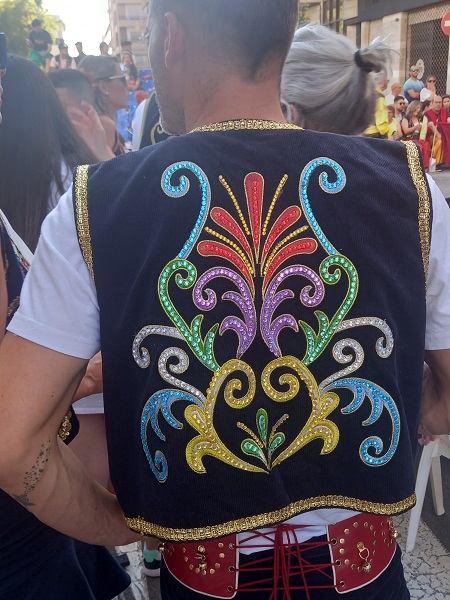
It has been a quiet few weeks here, mainly crafting, beach and pool, but we have had one trip out to the nearby city of Elda, in the mountains, for their Moors and Christians parade. It was a wonderful spectacle as always, with some of the most elaborate costumes I have seen. I love the attention to detail so that the back always looks as spectacular as the front. We saw the Moorish part of the parade, so the costumes were especially flamboyant.
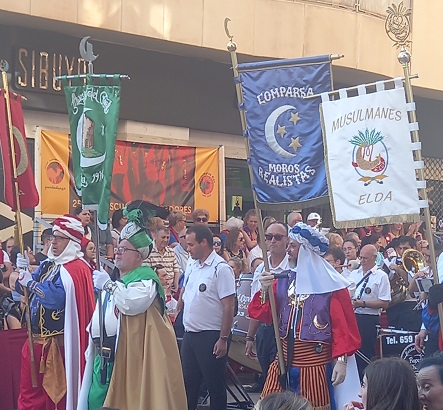


The crowd were also dressed in gorgeous embroidered waistcoats, trousers and leather boots.

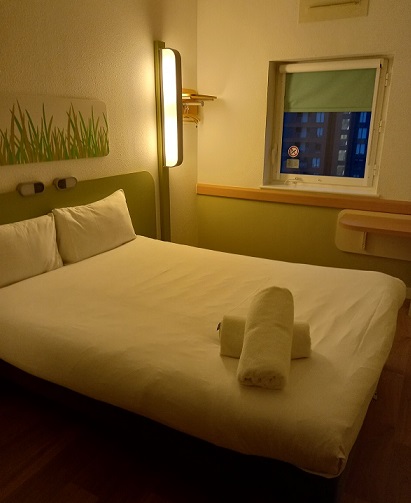
I am leaving in a couple of days to be reunited with Katy, so my next post will be coming to you from a campsite somewhere in the south of England, Wi-Fi dependant of course. I am on the road for three months, and have the most wonderful adventures planned so am very excited! Until next time, have fun, take care, stay safe and thanks for visiting.